
The first time I looked up how to set up an infrared cabin sauna at home, most of what I found was either a marketing page or a two-line disclaimer telling me to follow the included manual. The manual is fine as far as it goes, but it doesn't tell you where to put the thing, whether your garage outlet is going to cut it, or what to expect the first time you turn it on and the whole room smells like a lumberyard. I learned all of that the hard way while assembling a Heat Wave Radiant Saunas Harmony Deluxe cabin in our garage bay here in Ohio.
This is the version of that guide I wish I'd had. It's the actual sequence I followed, in the order that would have saved me a return trip to the hardware store and one slightly awkward call to an electrician I hadn't budgeted for. If you're setting up an infrared cabin sauna of your own, whether it's this exact model or something similar in size, the five steps below cover the parts that actually matter.
Delivery day itself is worth planning around too. Ours arrived on a pallet, three boxes strapped together and heavier than either of us expected, and the delivery driver dropped them at the end of the driveway rather than carrying them into the garage. Clear a path ahead of time, have a dolly or at least a second set of hands ready, and don't schedule the delivery for a day you also need the garage for something else, because those boxes will likely sit exactly where they land for at least a few hours.
Before you measure a single wall, know what you're actually working with.
The Heat Wave Radiant Saunas Harmony Deluxe is the cabin I used for every step in this guide. Check today's price and current availability before you start planning your space around it.
Amazon Check Today's Price on Amazon →Step 1: Measure and Prep Your Space Before Anything Arrives
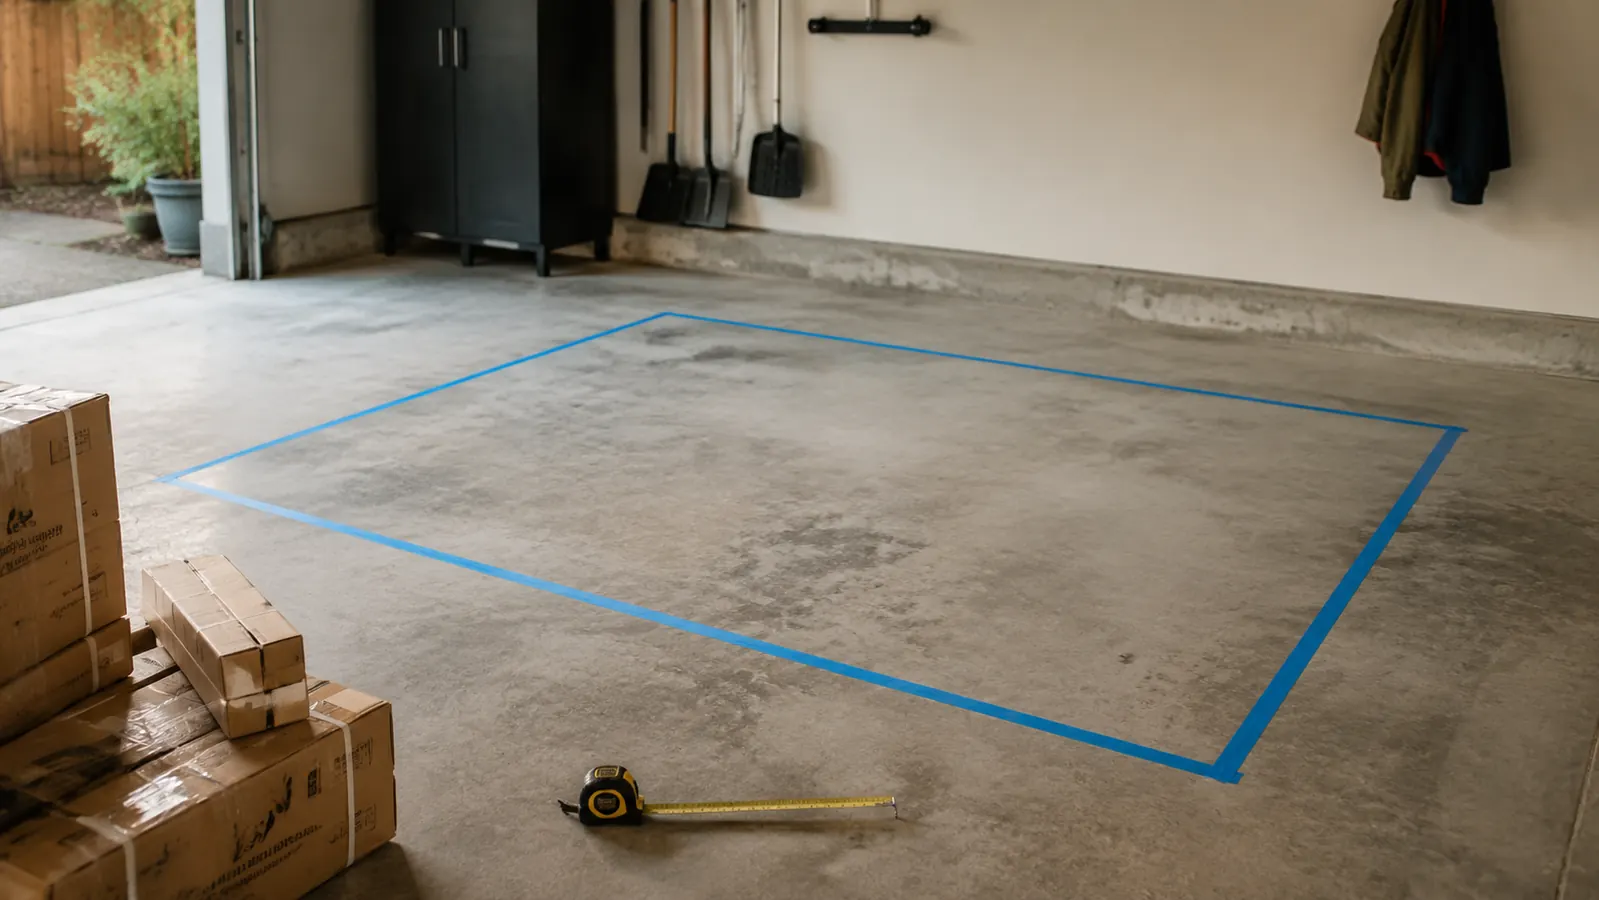
Do this before the boxes show up, not after. I pulled the exact exterior dimensions off the product listing and taped out the footprint on our garage floor with painter's tape a full week before delivery, which turned out to be one of the smarter things I did during this whole process. The cabin needs more floor space than the interior bench seating suggests, and I'd rather have found that out with tape than with a fully built cabin wedged against a support post.
Beyond the footprint itself, leave a few inches of clearance behind and beside the unit for airflow and so you can actually reach the back panel if you ever need to service it. I also put down a simple rubber utility mat under the taped rectangle, partly to protect the concrete from any moisture and partly because standing on bare concrete before and after a warm session felt colder than it needed to be. It's a five dollar fix that made the whole corner feel more finished.
Ventilation matters more than I expected going in. Our garage bay has a window we crack for the first hour after each session, and if you're setting yours up in a fully enclosed spare room instead, plan for some way to move air through after use so the wood scent and residual heat don't just sit there. A small fan pointed at a cracked door does the job in most cases.
If you're weighing an unheated garage against an interior spare room, think through both directions of temperature. A garage that dips into the 40s in winter means a longer heat-up time and a colder walk to and from the cabin, while an interior room holds a steadier ambient temperature but means you'll want to be more deliberate about airflow so the wood scent doesn't linger in a space you also use for other things. We chose the garage mainly because it gave the cabin its own dedicated corner without taking over a room we needed for anything else.
Step 2: Handle the Electrical Before Delivery Day, Not After
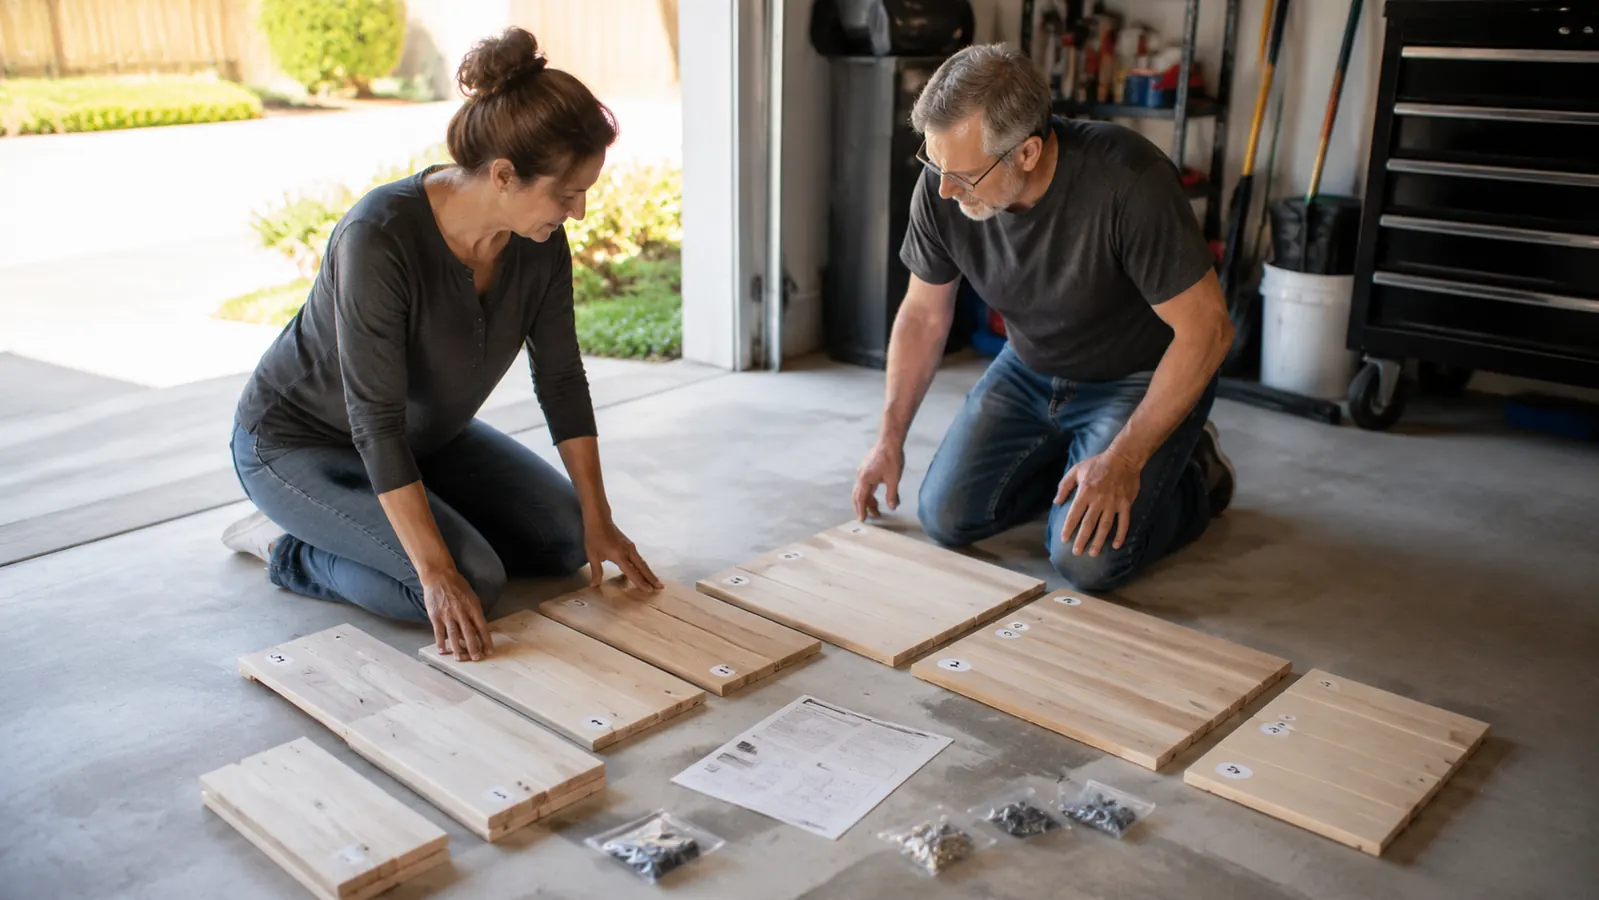
This is the step I'd move earlier if I could do it again. The Harmony Deluxe needs a dedicated standard household outlet within reach of its cord, and the manual is explicit that it should plug directly into a wall outlet rather than run off an extension cord. Our garage bay didn't have an outlet anywhere near the spot we'd chosen, and I hadn't accounted for that until the boxes were already sitting there waiting.
We ended up calling an electrician to add an outlet near the back corner of the garage, which cost more and took longer than I wanted since we hadn't scheduled it in advance. If your space already has a nearby outlet, this step might just mean confirming it's not shared with something else on the same circuit that could trip when the sauna is running. If it doesn't, get that scheduled before your delivery window, not the week after.
A GFCI outlet is worth asking your electrician about if your sauna is going in a garage, basement, or anywhere with even occasional dampness, since that's fairly standard practice for appliances in those kinds of spaces. It's a small add-on cost at the time of the install and one less thing to think about later.
It's also worth walking your electrician through what else shares that circuit before they finalize the outlet. Our garage had a chest freezer running off the same breaker as the outlet we'd originally planned to use, and having the sauna kick on at the same time the freezer's compressor cycled would have been a bad combination. Moving the sauna to its own dedicated line solved that before it ever became a problem, and it's a five minute conversation that's much easier to have before the wall is patched up.
Step 3: Unbox and Sort Every Panel Before You Touch a Screwdriver
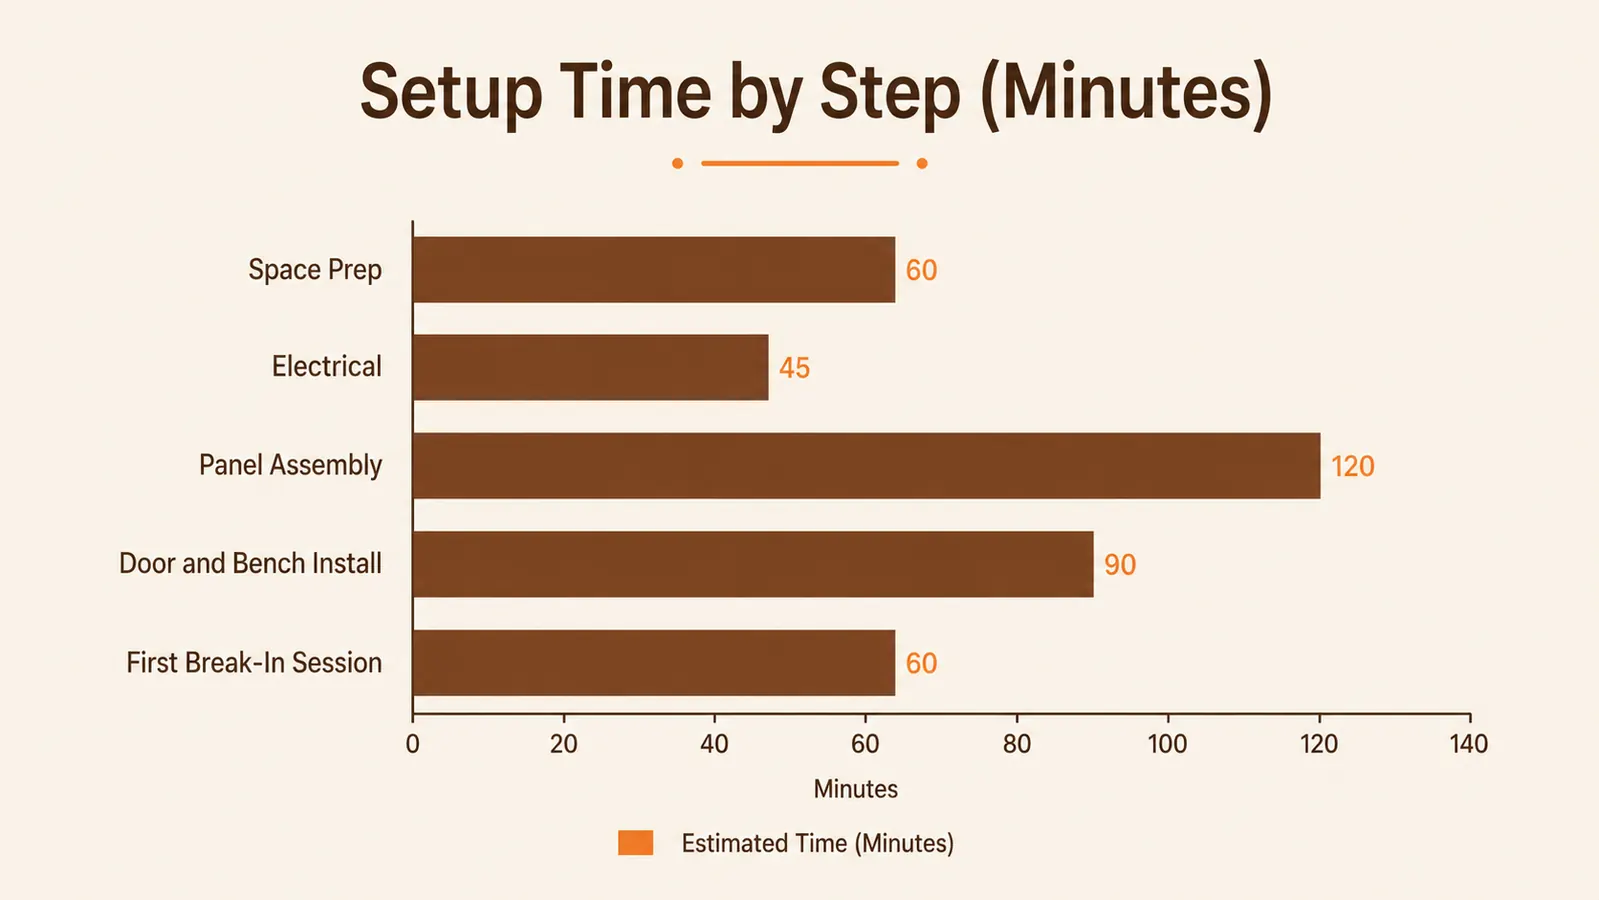
The cabin arrives in a few heavy boxes, and it's tempting to just start pulling panels out and matching pieces up as you go. Don't. Lay every panel out on the garage floor first, match each one against the numbered diagram in the manual, and set the hardware bags aside somewhere you won't lose them. My husband Dave and I skipped this step the first time through and ended up swapping two side panels that looked nearly identical, which we didn't catch until we were partway into standing the shell up.
Once everything is sorted, do a quick inventory against the parts list. It's a lot faster to notice a missing bracket or a short screw count on the garage floor than it is once you're forty minutes into assembly and reaching for hardware that isn't there. This step took us maybe fifteen minutes and saved us a genuine headache later.
This is also the point to have your tools staged and ready: a screwdriver, the included hex key if your kit has one, and a second person free for at least the next hour. The panels themselves are lighter than they look, but they're large enough that holding one steady while someone else lines up the tongue and groove edge is genuinely a two-person task.
Step 4: Assemble the Shell, Then the Door and Bench
Start with the wall panels, working around the base in the order the manual lays out. Most of the shell interlocks without tools, tongue and groove style, and stands up faster than I expected once we had it sorted correctly. The roof panel is where the pace slows down, since it needs to be screwed into place from the inside rather than just slotted in, and that's easier with one person supporting it from below while the other secures the hardware.
The interior bench brackets go in next, before the door, since there's more room to maneuver a screwdriver with the front of the cabin still open. Take your time here. A bench that's slightly uneven is annoying every single time you sit down, and it's a five minute fix now versus an ongoing irritation later.
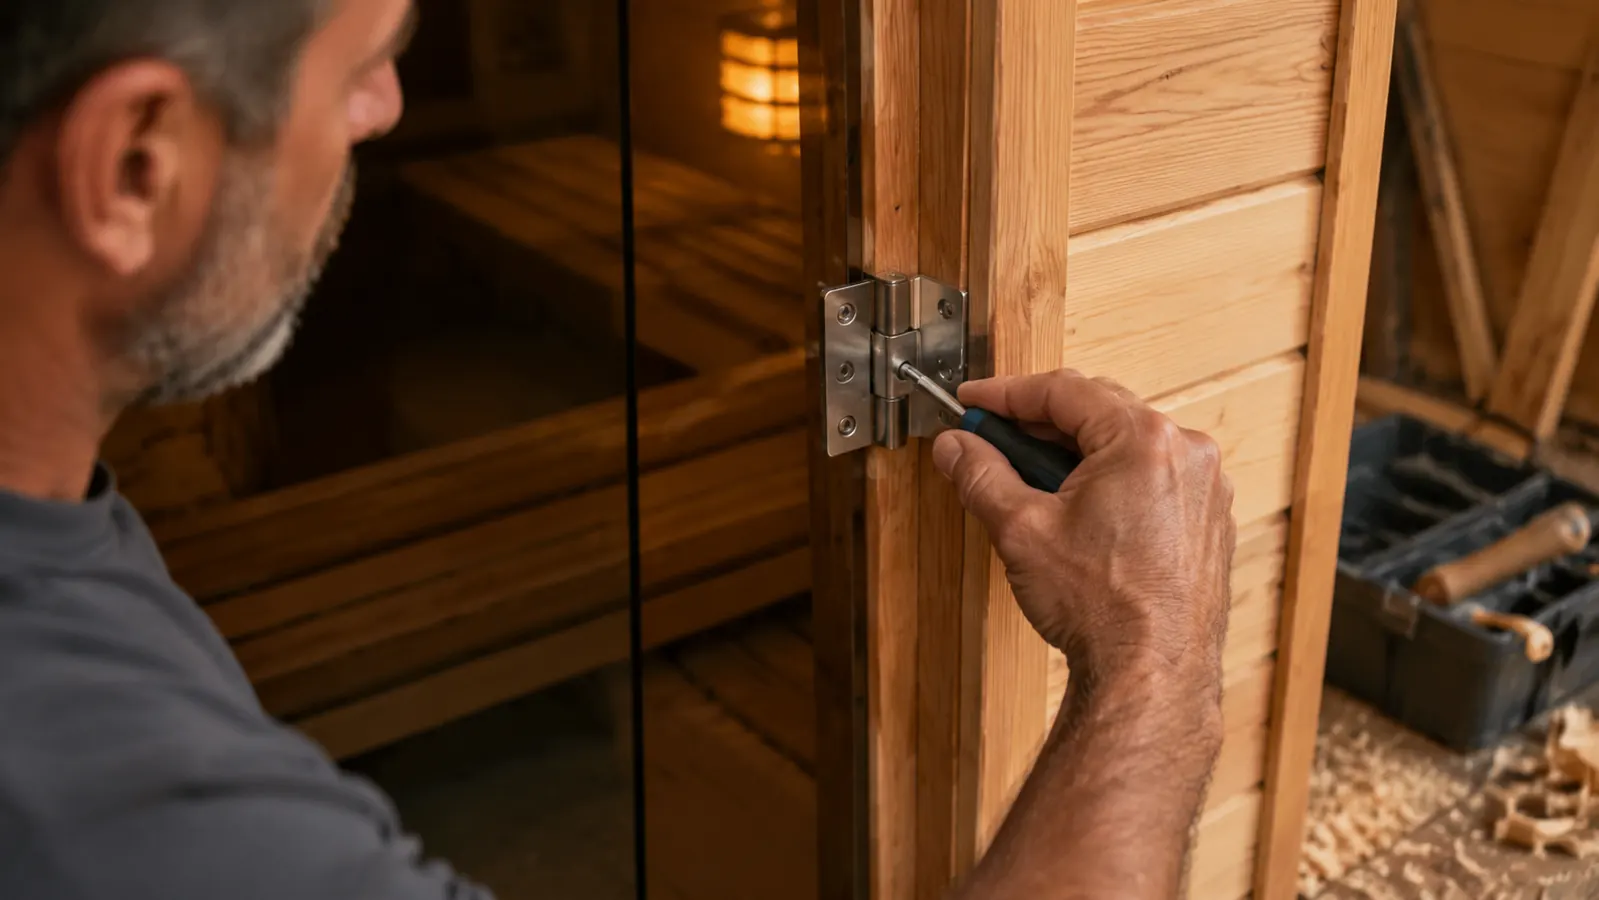
Save the tempered glass door for last, and handle it carefully. It's noticeably heavier than the wood panels, and the hinge alignment has to be close to perfect for the door to seal properly against the frame once it's hung. We took an extra ten minutes just checking the alignment before fully tightening the hinge screws, and that patience paid off. Five months later, ours still closes without rattling or gapping.
Keep the printed diagram propped up somewhere visible the whole time, even for the parts that feel obvious. We got confident partway through and set the manual aside, then had to dig it back out of a recycling pile ten minutes later when we hit a bracket we didn't recognize. A phone photo of every diagram page, taken before you start, is a small habit that saves you from exactly that kind of scramble.
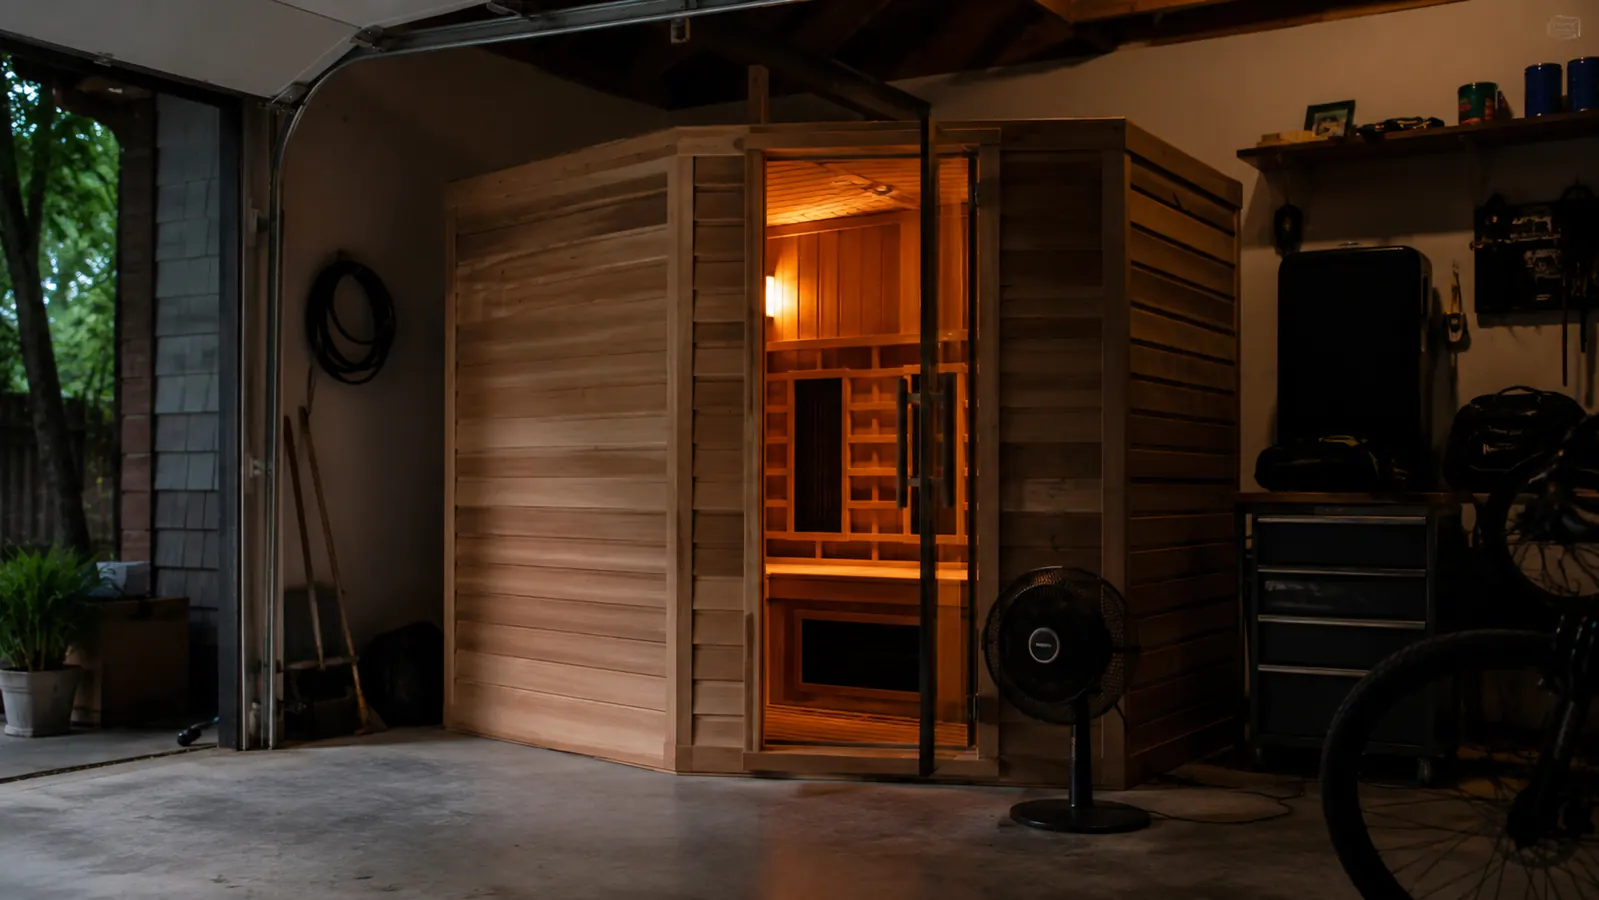
Step 5: Wire the Control Panel and Run a Break-In Session Before Your First Real Sitting
Connect the interior and exterior control panels according to the manual's wiring diagram, then plug the whole unit into the outlet you set up in Step 2. Before you actually sit inside it, run a short break-in session with the door open or cracked, somewhere in the range of fifteen to twenty minutes at a moderate setting. This lets the panels and the wood adjust and gives the strong fresh-hemlock smell somewhere to go before you're breathing it up close.
The first month, I left the door cracked for close to an hour after most sessions to air the cabin out fully. That smell fades noticeably by the second or third month, but the break-in session is what keeps that first week from being overwhelming instead of just mildly noticeable.
Once the break-in session is done, check the door seal by running your hand along the frame while it's warm and closed, confirming there's no obvious gap letting heat escape. From there, your first real session is really no different from any other. Set a temperature, set a timer, and give it the full fifteen to twenty five minutes it typically takes to come up to a comfortable heat from a cold start, longer if your garage or spare room runs cold.
Expect your heat-up time to shift a little with the seasons rather than staying fixed. In our unheated garage, a session that comes up to temperature in twelve to fifteen minutes during a warm July evening can take closer to twenty five in the middle of a cold Ohio February. That's normal, not a sign anything is wrong with the unit, and running a small space heater in the room for ten or fifteen minutes beforehand in colder months takes some of that wait back.
What Else Helps
A few small additions made ongoing use noticeably easier than the setup alone would suggest. I keep a folded towel and a water bottle staged on a stool right outside the door, since the whole routine goes faster when I'm not hunting for either one after the cabin is already heating. A simple stick-on thermometer near the outside vent gave me a second reference point beyond the control panel readout during the first few weeks, mostly for my own peace of mind while I got used to how the cabin actually performed session to session.
A basic bath mat or rubber tile right outside the door catches the moisture you track out after a session and keeps the garage floor from getting slippery near the entrance. I also started leaving a fresh towel folded on the interior bench overnight instead of fetching one fresh each time, which sounds minor but shaved the whole startup routine down to under a minute and made it far more likely I'd actually use the sauna on a random weeknight instead of only on weekends when I had more time to prepare.
The setup itself only takes a weekend. The habit of actually using it is the part worth planning for.
Ready to plan your own corner of the garage or spare room around this?
Check today's price and current availability on the Heat Wave Radiant Saunas Harmony Deluxe cabin before you start taping out your floor space.
Amazon Check Today's Price on Amazon →